
Prerequisites
Download and Log In to Nstbrowser
Visit Nstbrowser.io to download the latest version of the anti-detect browser. Once installed, launch the app and log in.
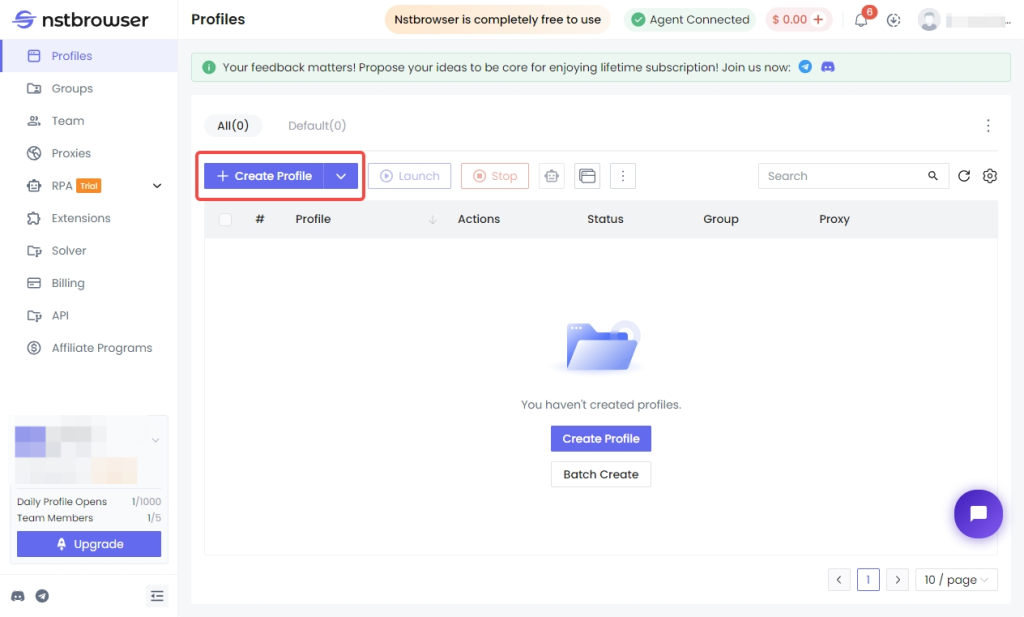
Step 1: Create a New Browser Profile
After logging in to Nstbrowser, click the “Create Profile” button to open the profile creation settings.
Step 2: Set Up Your THUNDERPROXY Proxy
Log in to your THUNDERPROXY dashboard and configure your proxy settings according to your preferences. If you need a specific location, select your desired country under the “Geotargeting” option. Otherwise, leave it as “Random” for automatic location assignment.
IMPORTANT: Make sure to set “Rotating Mode” to Sticky.
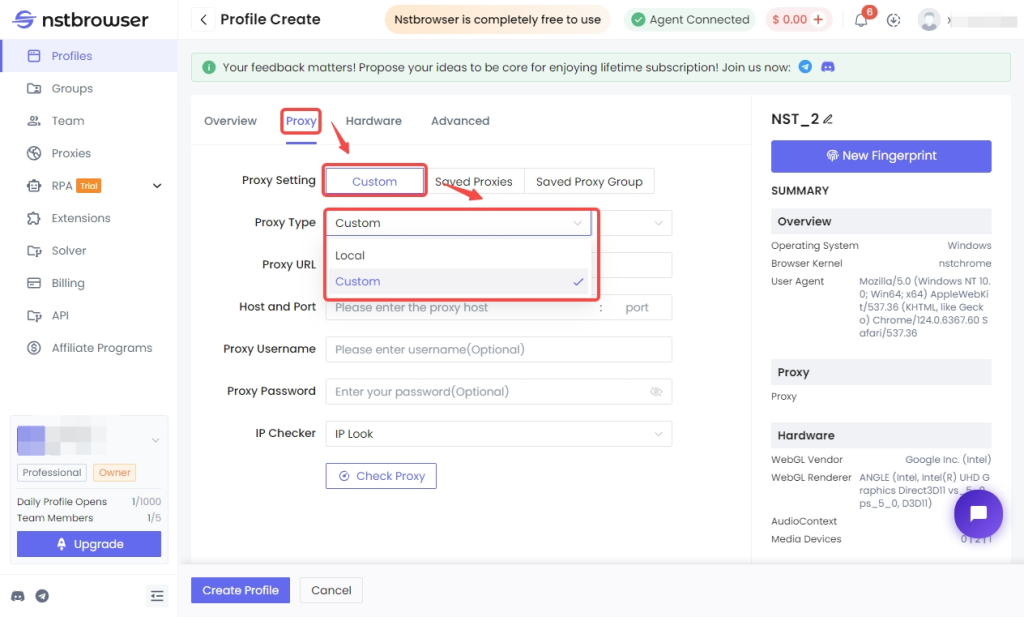
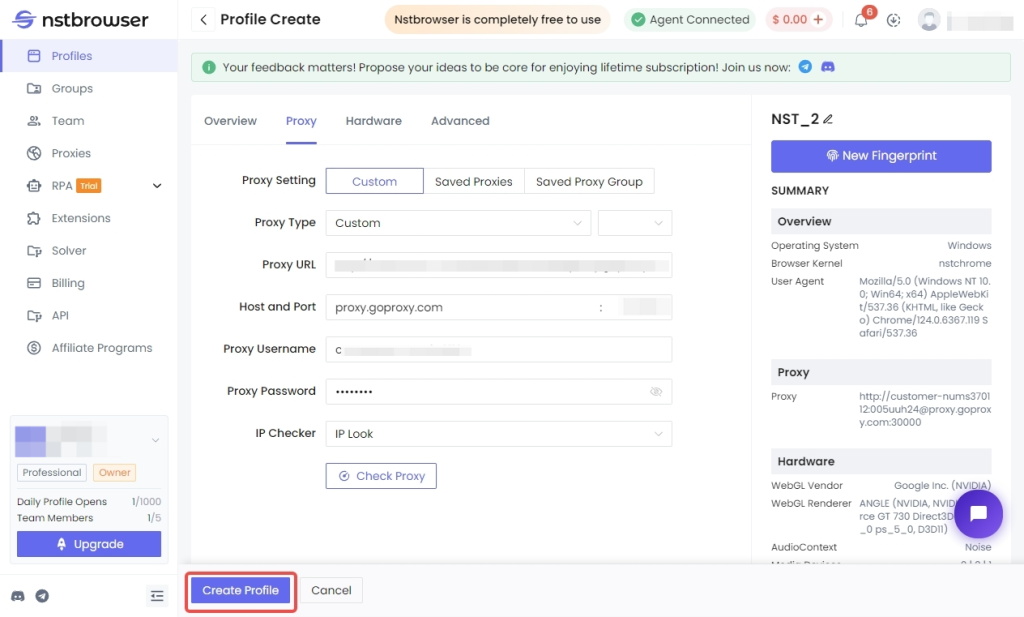
Step 3: Enter Your Proxy Details
In Nstbrowser, navigate to the “Proxy” tab and select “Custom” under the proxy settings. Copy the proxy URI from your THUNDERPROXY dashboard and paste it into the “Proxy URL” field. Choose the appropriate protocol, and test the proxy connection. Once done, click “Create Profile” to save your settings.
Step 4: Activate Your Browser Profile
To activate the profile, click the “Play” button. Nstbrowser will download the necessary components, and you’ll be able to start browsing anonymously with your new configuration.